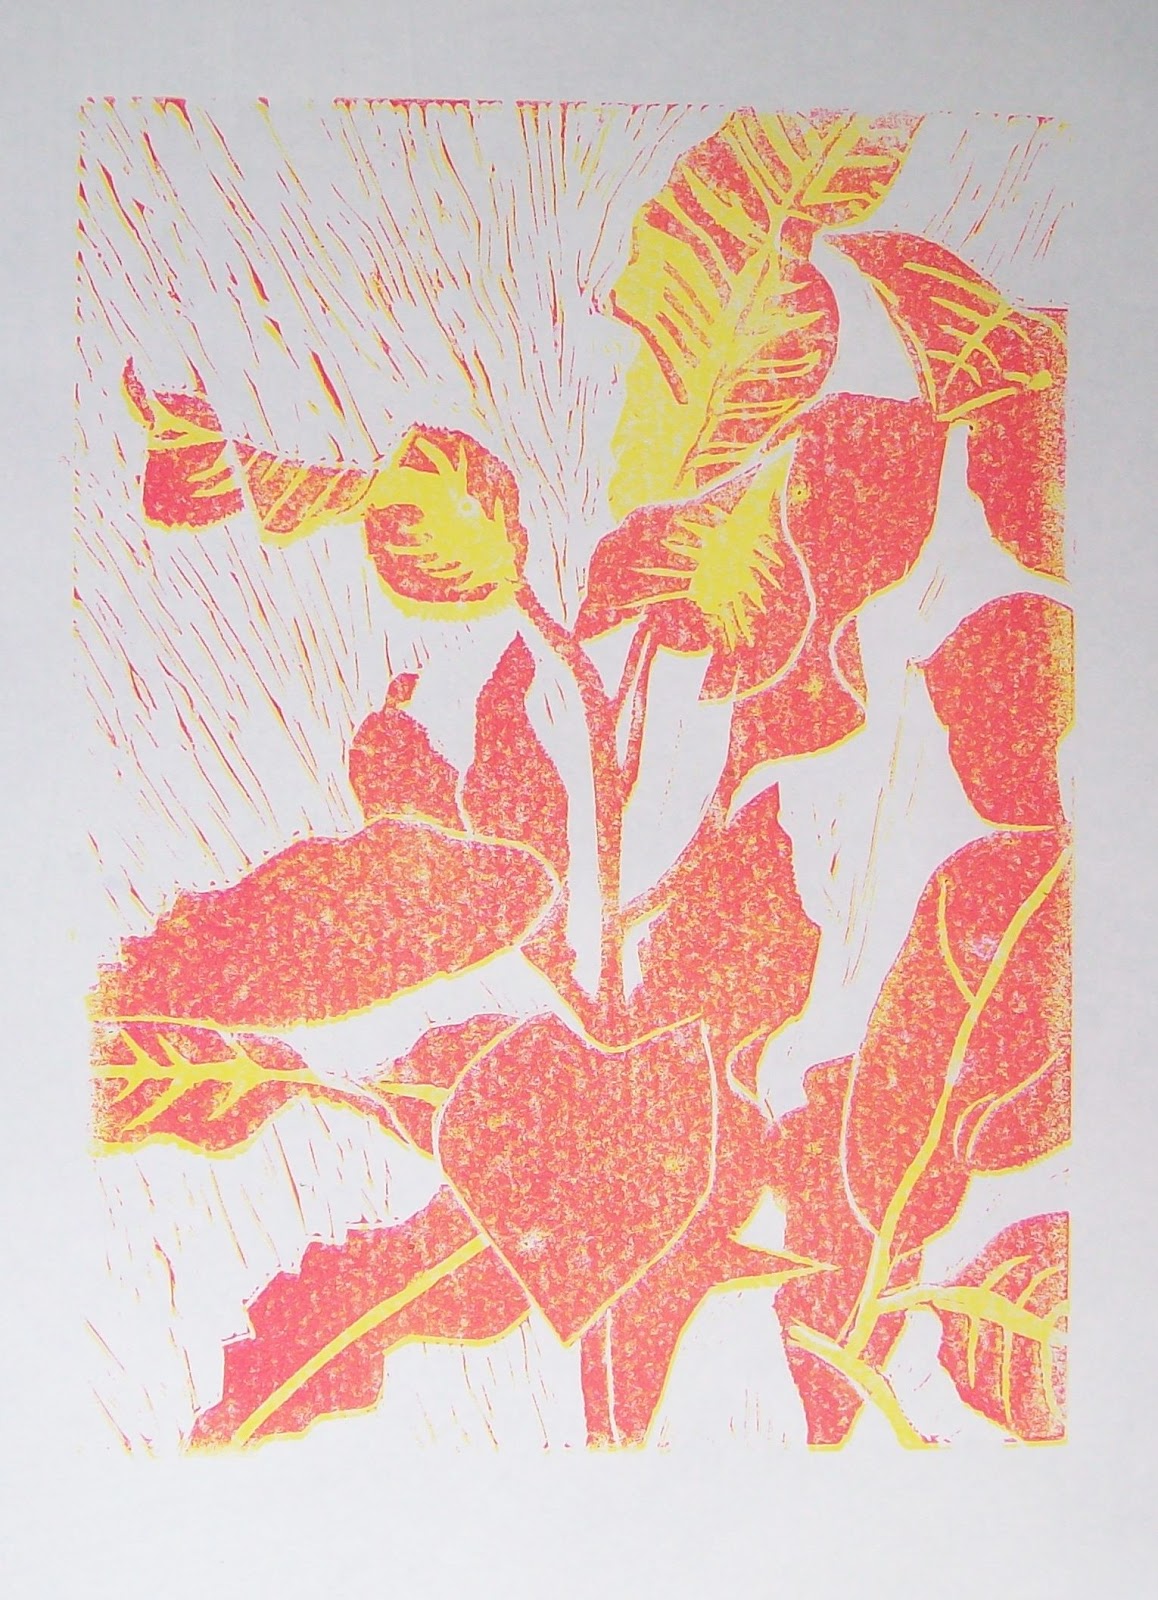
Showing posts with label printmaking. Show all posts

Sunday, June 16, 2013

Some recent work


For the past year or so I've been working on several projects at once. I think of the projects as lines of enquiry, or planks, and they're all related though seemingly very different visually. Basically I'm exploring the mysterious world of plants through different media -- drawing, painting, printmaking, and collage. Here is some of the work:

Mary Adam, Apple with leaves, acrylic on stretched canvas, 8 x 8"
Mary Adam, Blue flowers, acrylic on stretched canvas, 8 x 8"


Mary Adam, Mind and body, collage


Mary Adam, Heart of the matter, coloured pencil 


Mary Adam, Plant Life 1, mixed printmaking techniques
The second-to-last one is based on a drawing of an Acalypha species from my series of wild flower drawings done in the 80s. A previous post on the series might help to explain some of the things going on here ...


Sunday, March 11, 2012

Pakchoi screenprint

Mary Adam, Pakchoi, screenprint on 9 x 12" paper
The screens for this were made with drawing fluid and screen filler which is time consuming because of waiting for the screen to dry at each stage. I like the technique because it allows for some precision, and clean-up is fairly easy. It's not ideal for fine lines however and in fact this is the third try making this print, the first two fell by the wayside -- it's been going on for months! There won't be many prints left after editing but I'm pleased it has finally come into existence.

New wooden screen attached to desk with hinge clamps
I also want to correct some misinformation from a while back about the availability of wooden screens (http://mary-adam.blogspot.com/2011/08/testing-gummed-paper-tape.html). In fact wooden screens are still being made in the traditional way with a groove on the back to hold the cord which is used to stretch the fabric -- I got one recently from Dick Blick, along with a pair of heavyweight hinge clamps specially designed for screen printing. The clamps are fixed to the desk with screws and the wing nuts are adjustable to release the screen for cleaning. And the fabric can be changed at home.

Friday, February 3, 2012

Set-up for printing a collagraph

Work table ready for printing a collagraph. This is one way to lay it out, there are many other ways. In this case the work flow is from right to left but it could just as well be left to right.

Clockwise from top right:
Inks -- several tubes of ink in different colours.
Glass plate for mixing and rolling inks.
The collagraph block -- various things glued to a piece of cardboard. Ink will be rolled over it while it's on the newspaper, then it will be moved to the printing area.
A board -- this is an old canvas board that I use for printing. It has registration strips or guides securely glued on. When ready to print I put a sheet of the printing paper up against the strips and then glue it to the board. Then I center the printing block on the paper and mark the outline in pencil. This helps to get the block in the right place after each inking.
A baren -- for pressing on the back of the paper to transfer the ink from the block.
Brayers (2) -- small rubber rollers for rolling out the ink and inking the block.


Saturday, November 12, 2011

Christmas cards

Mary Adam, three cards from an edition of nineteen
I thought I'd try to make my own cards this year and have almost finished. The design is from a drawing done at San Rafael in late August and is in seven colours, partly relief printed and partly screenprinted. The last colour is still to be done. They're printed on Strathmore 5 x 7" acid-free blanks. The card stock has a marked texture which I wasn't expecting but the ink went on smoothly without any problems. The thing is that I almost never send cards -- this year will be different because I made them myself . . . not sure it makes sense?

Sunday, June 26, 2011

Tree, Chaguaramas 4

Tree, grey and yellow blocks

The grey and yellow blocks are printed. Started out with fifteen, printed one upside-down by mistake and a couple more are doubtful. There was a complication with the grey because the "plate" is thick styrotex and it threw the registration off a bit.

Sunday, June 19, 2011

Tree, Chaguaramas 3

Although I haven't been posting I'm working on the tree and have started cutting the blocks. This time I'm making a separate block for each colour and this is the "separation" for the black block:

The "Black" separation for the Tree linocut (shaded areas)

The shaded areas will be left on the block and will be printed with black ink, everything else will be cut away.

It's funny, twenty years ago in 1991, it was all in the day's work to do sophisticated colour separations on the computer, everything automated and fantastic quality. Today, along with millions of others, I'm working out which shape goes on which block with pen and paper, and cutting it laboriously by hand, shaving by shaving, and getting satisfaction and enjoyment from the process. I feel there's some deep lesson to be learned if I could only think what it is.

Thursday, June 9, 2011

Tree, Chaguaramas 2

Feeling I didn't know the tree well enough I decided to make some exploratory studies. First I played around with the drawing in Gimp (or do you say, The Gimp?), which I'm just starting to learn.

Tree, digital manipulation of drawing
Then I made a collage, in fact am still working on it, there are some changes from this afternoon which are not in the photo . . .  I have no definite plan in mind yet.

Tree, collage
Still don't know it well enough so I made a drawing from a photo taken at the same time. This has more detail and gives me more of a feel for the tree. Am thinking I need to go back to Chaguaramas and do another drawing and find out what species it is -- the trunk looks as if it might be a young Banyan?

Tree, graphite
Don't seem to be anywhere near a print yet, this could take a while, much more than two weeks. It has become very interesting to me and I want to take time to explore it, wherever it may lead.

Monday, June 6, 2011

Tree, Chaguaramas


Tree, Chaguaramas, graphite

I've been looking for a drawing for a relief print and think I'll try this one which I did in Chaguaramas on Saturday May 15 on a drawing/painting day with a group from Women in Art. Will report progress as it goes along, though not necessarily every stage -- the print will take at least a couple of weeks. Haven't decided yet what techniques or colours I'll be using. Here goes . . . 

Monday, March 28, 2011

Croton reduction linocut 6, final print

Croton reduction linocut, final print
This was done a couple of days ago, the prints are dry and packed away already. I'll take it out and look again in a month or two. I'm not sure if I prefer the last one with the brown-red ink, before the black was added. I toyed with the idea of stopping the run and letting it stay as it was; then went ahead, thinking that's what I planned, let me see it through. With future prints I will a) improve the registration system to reduce the number lost during the process, and b) when in doubt keep a few back at the penultimate stage. However I doubt that this exact situation will arise again.

Friday, March 25, 2011

Croton reduction linocut 5

Croton reduction linocut, fourth colour

It's not perfectly registered but I was pleased with this when lifting it off the block. The process is quicker now, the inking is less because so much has been cut away.

Thursday, March 24, 2011

Croton reduction linocut 4

Croton reduction lincut, the third colour

This one was disappointing. I lost the first four (out of twelve) because of mis-registration and took ages to figure out what was wrong. My system consists of a sheet of the same paper that I'm using for the print run taped to the work surface, with an outline of the block drawn on it, and with narrow strips of lino acting as guides. The guides stayed in place but the tape holding down the paper became unstuck allowing movement to take place. In a nutshell, the block shifted in relation to the guides when burnishing the back of the paper. I now know that I need to devise a better registration system.

After figuring it out and securing the base sheet, there was considerable improvement but it became evident that slight shifts had taken place in the earlier colours. So none of them will be spot-on perfect.

I'm not too cast down. It reminds me of a time some years ago when I was drawing a friend, a successful businesswoman. It didn't go well and the friend commented that she would never choose to do something with such a high failure rate. It made me stop and think ... I'm still thinking ... it's true, in art the failure rate is high but it's one of those things that one accepts as an artist, it's part of the job. The rate improves over time, with practice and experience, this I know for sure, my rate is far better than it was ten or fifteen years ago. Definitely a long term prospect though, no quick miracles in this field.

Right now I'm relatively new to printmaking and expect glitches to occur and one did and no harm, it's good experience. I will continue with this linocut (two more colours) and will be happy if I end up with three or four passable prints.

Tuesday, March 22, 2011

Croton reduction linocut 3, the second colour

Croton reduction linocut, the second colour
This colour didn't print as smoothly as the yellow, the ink was a different consistency and was tending to separate in the tube. I blended it as well as I could on the glass with a palette knife. I'm hoping the slightly mottled effect won't be a problem, maybe it will have a charm of its own. So far my registration system is working reasonably well. This was actually printed several days ago, I'm only now getting round to posting it.

Wednesday, March 16, 2011

Croton reduction linocut 2

Croton linocut in progress, the yellow block

Supplies arrived yesterday and the yellow is printed (hand-burnished) and hanging up to dry. Now to cut the same block for the next colour. I'm expecting to lose a few to mistakes during printing, I hope not more than one per colour. 


Saturday, March 5, 2011

Croton reduction linocut 1-- high hopes

Croton, first cut of the lino block, 12 x 9"
This is one of several small projects I have going on at the moment, some of them involving printmaking. It's a reduction linocut with five colours planned -- too ambitious, maybe, but I can't see a way of doing it with less. It could go horribly wrong at any time, a slip of the cutting tool and so on, but right now I'm hopeful, and keen to see it taking shape. I've used markers to indicate where some of the colours are, it's too easy to cut the wrong bits. I'll be printing it by hand unless I can find somewhere in Port of Spain with a relief press or etching press. 

There was a lot of preliminary work to get to this point. I didn't like the first drawing (which took hours) so I ditched it and started over, and a gouache study didn't look promising for making a painting. The strongly variegated foliage suggested that a linocut would be worth a try, so here goes. But of course I won't know until the end. 

I will update this as it goes along. I may have to stock up on paper or ink before printing the first colour. With a reduction linocut you get only one chance.

Tuesday, June 16, 2009

More monoprinting

Click to enlarge

These are all oil-based ink. The one on the left is from a drawing done in 2002 (here). It's back-drawn over another monoprint from yesterday. The one in the middle is a painted monoprint from life, and the seated figure on the right is based on a painting done in 2004 (here). It nearly came out well but unfortunately the paper slipped while rubbing the back of the print. I'm discovering the endless permutations of monoprinting -- taking the first print and then a ghost because there's still some ink on the plate. Then there's the leftover ink on the side, might as well use that up, so add to the plate and go again. Dud prints can be used as the basis for later prints, or torn up and used for collage, so nothing is wasted.

Saturday, June 6, 2009

Monoprint experiments


Today I took a break from painting and had some fun experimenting with monoprinting. I used acrylic screenprinting ink which is quick and easy to use and to clean up, but harder to control on the plate than oil-based inks. The plate was a nice thick piece of glass with polished edges and I have a stack of old blank letterheads for taking trial prints. On the downside, I found that an image which looks bright and vivid on the plate may lose some of its vitality on paper. But overall it's a great way to explore the formal aspects of making art. Plus, these are very amateurish efforts, I have a ways to go to get one good print.

Amendment, Sunday June 7, 2009:

Is it "monoprint" or "monotype"? The terms are often used interchangeably but the purists prefer "monotype". Here's what Monoprints.com says:

"The two terms monotype and monoprint are often confused and need clarification. A monoprint is a print created through any technique (lithograph, etching, woodblock, etc.) that is altered after it has been printed. Each print is different from the other, as the artist works each etched or worked plate individually, adding color or wiping the ink differently each time a print is pulled. A monotype is the printing of an image from a clean, unworked surface containting no scratching, carving or drawing. The main difference is that with monotypes editions are impossible to pull.
"

The distinction between monotype and monoprint is relatively new, however, dating back only to 1978 when it was introduced by exhibition curator Jane Farmer (info from History of the Monotype by William Jung).

Wednesday, December 31, 2008

Endings and beginnings


Last night I finished essay No. 2 of 2 for this course, on "Illusion and paint handling". It feels great to have it out of the way. I've been researching it for months and writing it for weeks, including paring it down to fit into the word count. In these painting courses I'm better able to predict when an essay will be done than a painting. Does this mean I'm in the wrong field? I still have a lot of logbook stuff to put into a coherent form but the essentials are in the notebook. So, nose to the grindstone, the end of this tunnel is in sight. And I'm so looking forward to getting onto the advanced painting course, which I've already signed up for and which is really exciting, and also the printmaking course which I've also signed up for and which is even more exciting. Last week I sneaked in a couple of rank beginner monoprints and was transported. Such possibilities! 
.